背景
从 阮一峰老师的博客 了解到 sadserver 可以在线挑战一些 linux 指令相关问题(整体难度一般,但做题体验不错,有提示),这里将目前网站提供的的16道题进行简单解答,提供思路和相关指令
本文 csdn 博客地址
如何解题
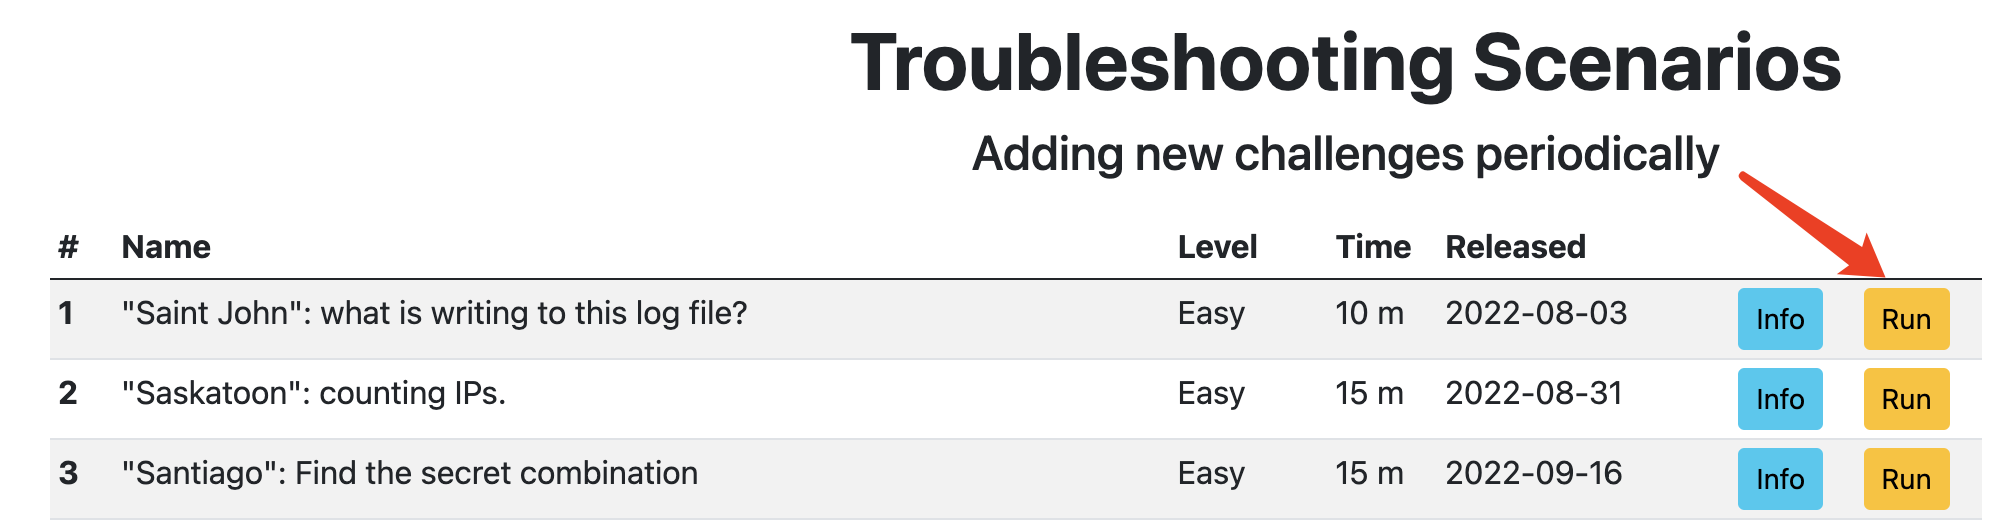
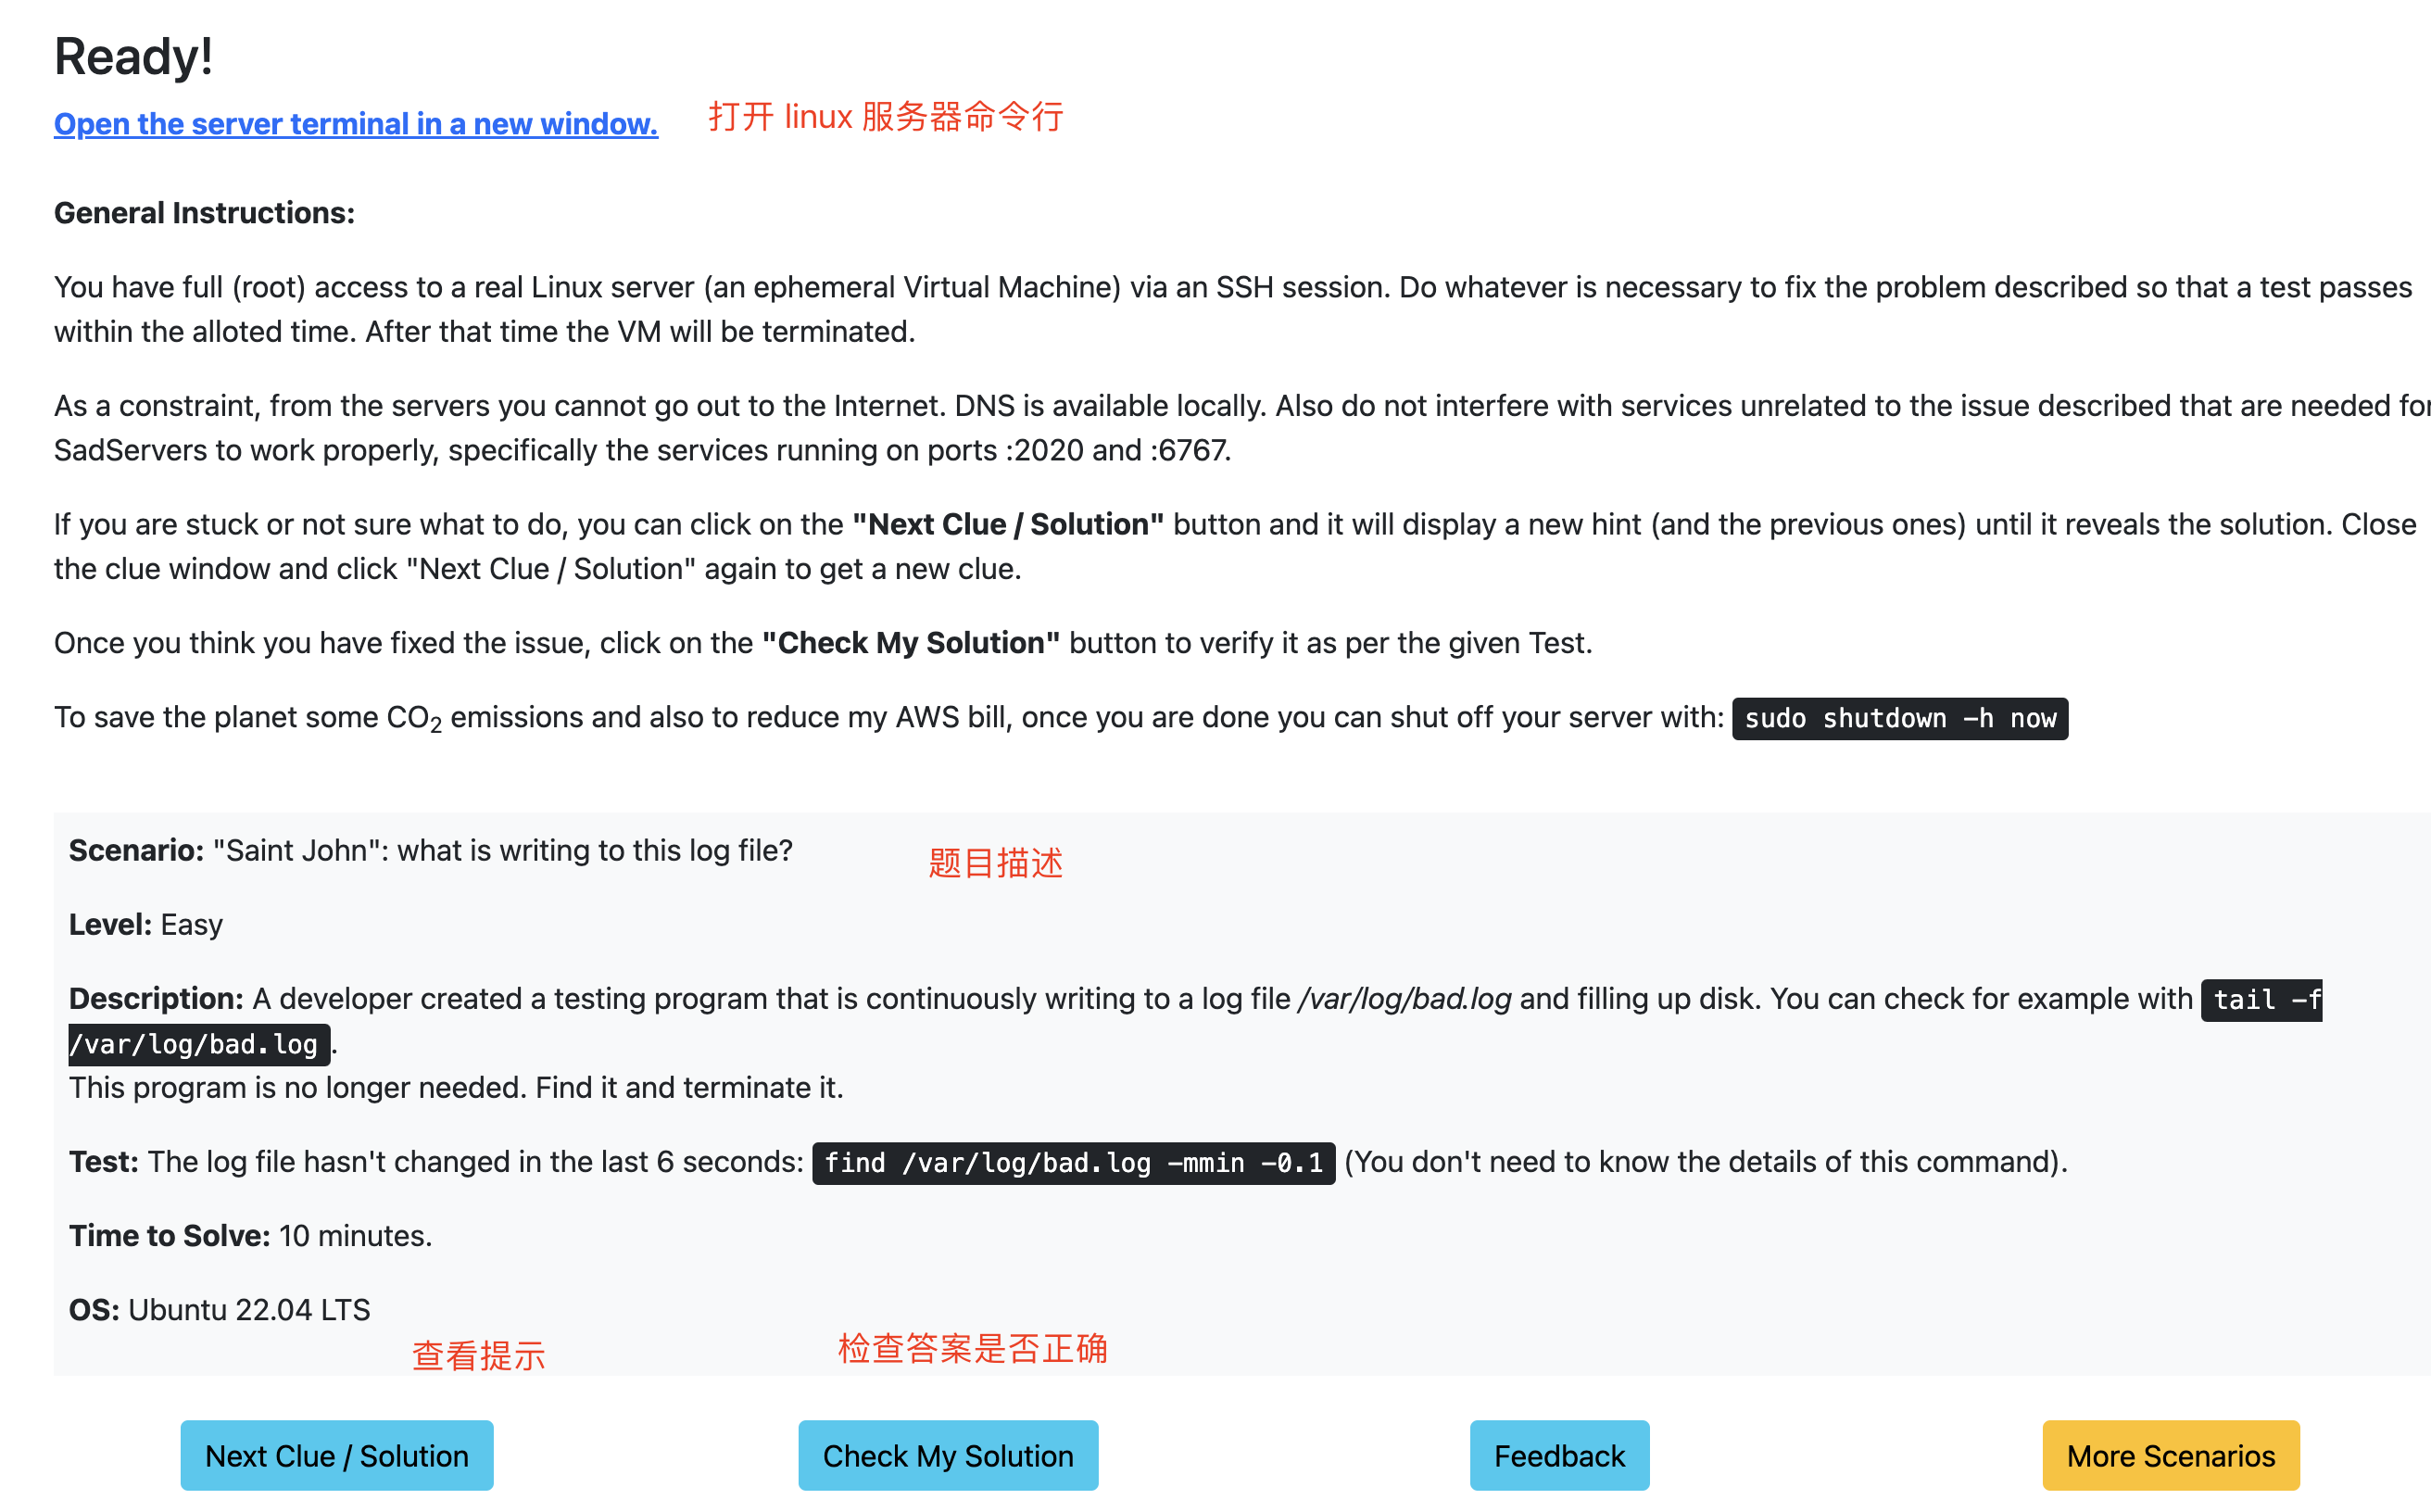
进入 首页 “Show Me Sad Servers” 点击题目,按照题目指引,在提供的 linux 服务器上进行指令操作
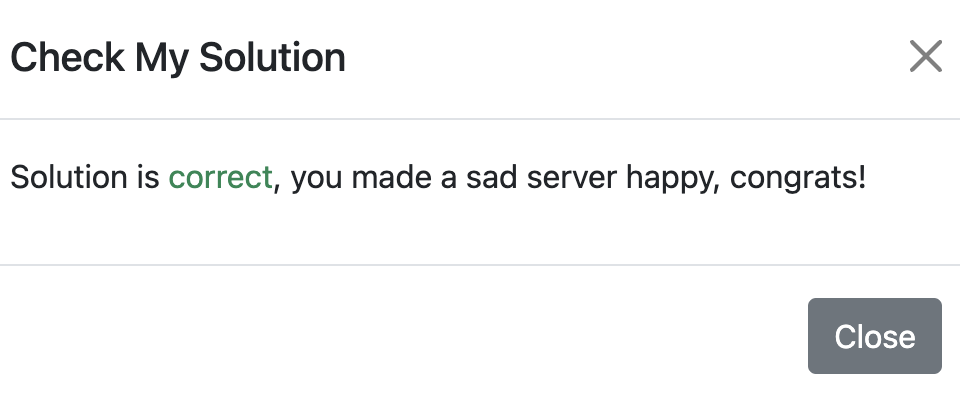
操作完成后,点击 “Check My Solution” 即可确认解答是否正确
题解

思路
找到文件占用的进程,并关闭
相关指令
1
2
3
4
5
| # 确认文件占用进程
lsof /var/log/bad.log
# 确认文件是否最近未更新
find /var/log/bad.log -mmin -0.1
|
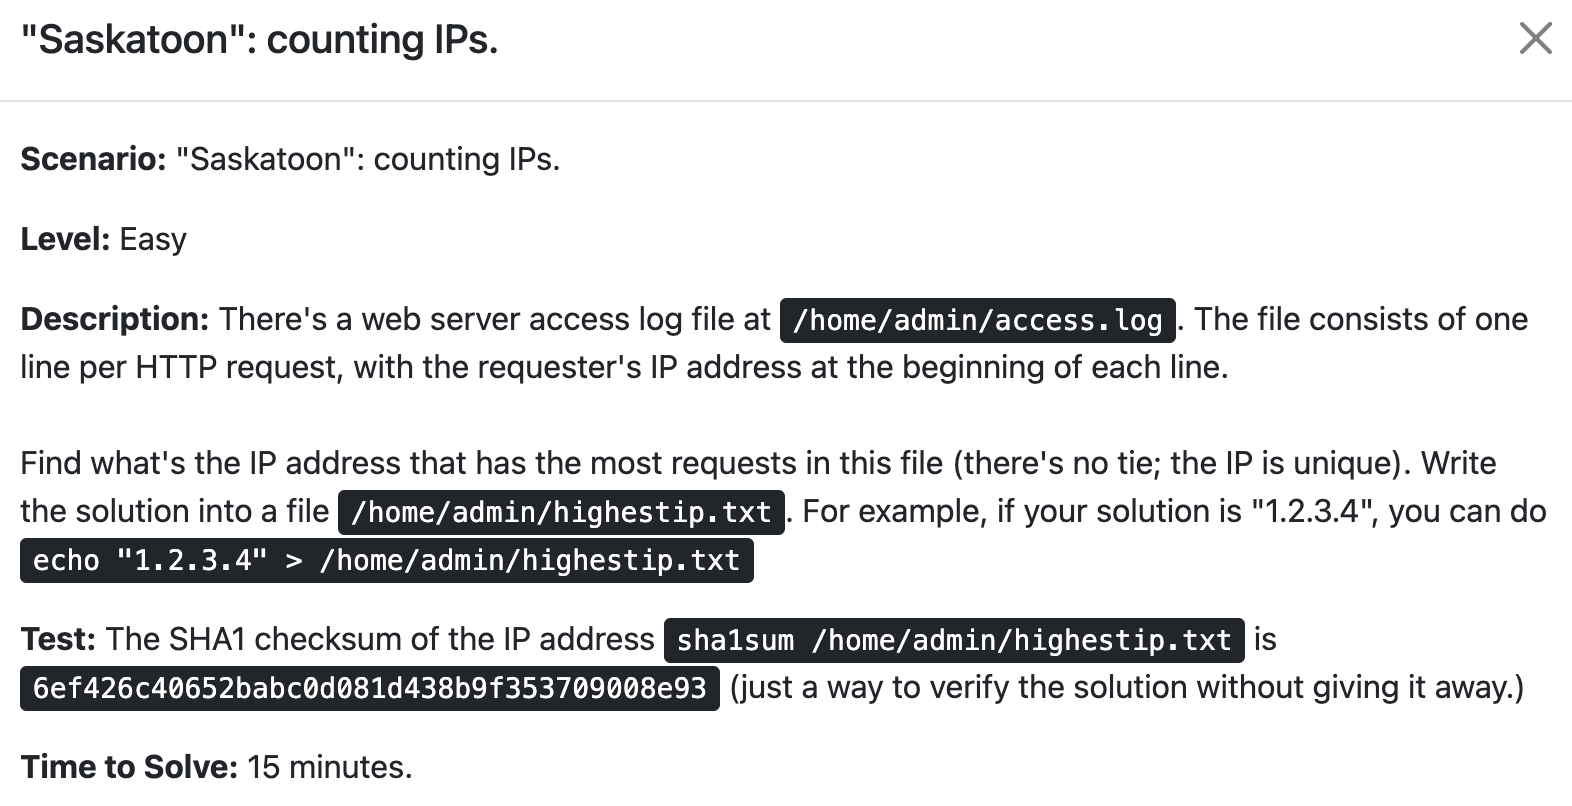
思路
统计字符串出现次数,并倒序排列
相关指令
1
2
3
4
5
6
7
8
| # 排序
sort
# 统计字符串出现次数
uniq -c
# 按数字格式倒序
sort -nr
|
“Santiago”: Find the secret combination
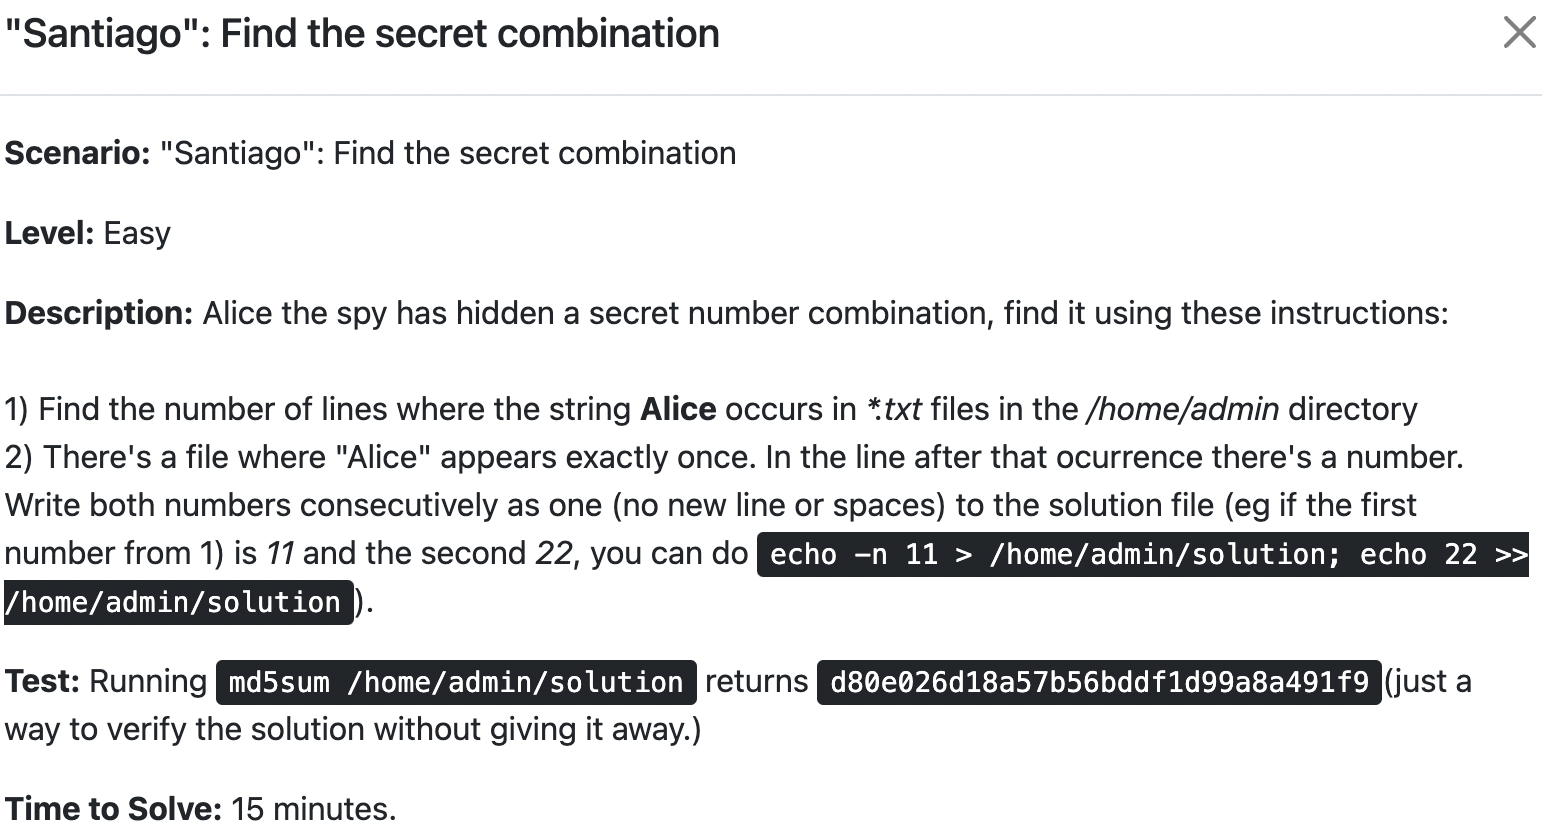
思路
计数、输出相邻行和过滤
相关指令
1
2
3
4
5
6
7
8
| # 统计行数
wc -l
# 输出之后一行
grep "Alice" -A1
# 过滤数字
grep -oE "[0-9]+"
|
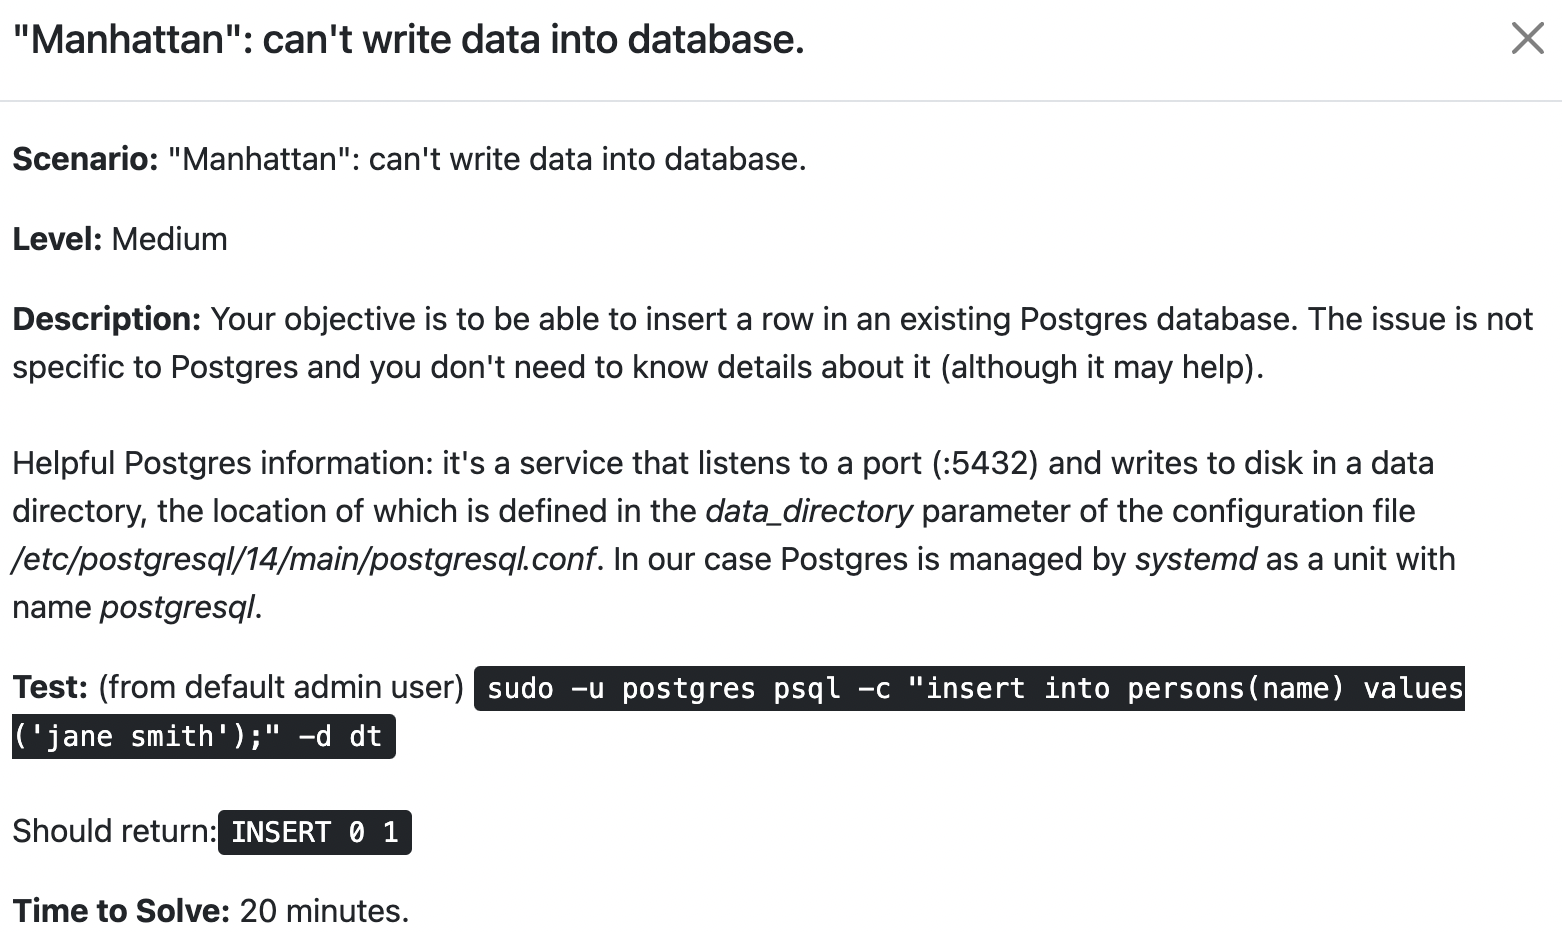
思路
确认postgresql启动失败原因,手动启动
相关指令
1
2
3
4
5
6
7
8
| # 手动启动
su postgres -c "/usr/lib/postgresql/14/bin/postgres -D /opt/pgdata/main -c config_file=/etc/postgresql/14/main/postgresql.conf"
# 检查 postgresql 数据目录下的文件
ls -l /opt/pgdata/
# 重启 postgresql
systemctl restart postgresql
|
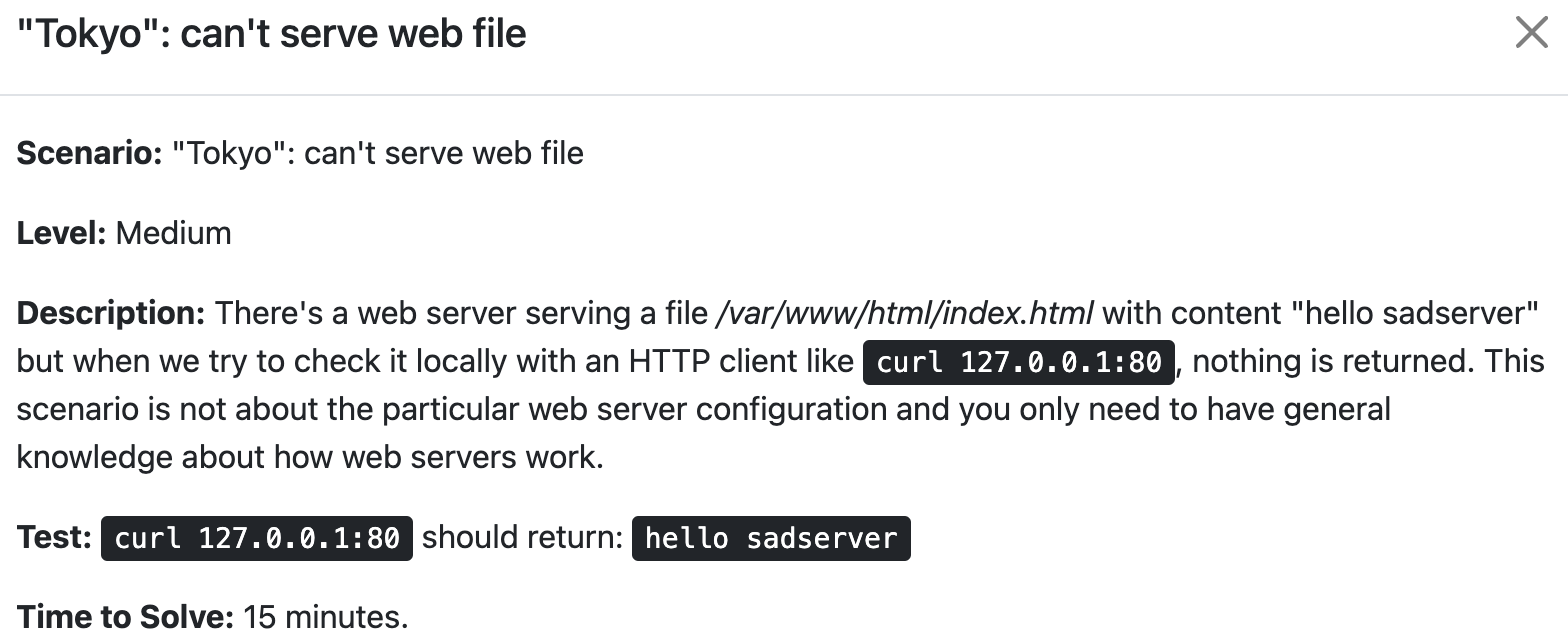
思路
通过 iptables 指令检查本地防火墙规则
相关指令
1
2
3
4
5
6
7
8
9
10
11
| # 查看防火墙规则列表
iptables -L
# 清空所有防火墙规则
iptables -F
# 访问 [apache2](https://github.com/apache/httpd) 链接, 查看具体报错
curl -i localhost:80
# 文件添加可读权限
chmod +r /var/www/html/index.html
|
思路
调整系统打开文件数
相关指令
1
2
3
4
5
6
7
8
9
10
11
12
13
14
15
| # 手动启动 nginx
nginx
# 正常流程启动 nginx
systemctl start nginx
# 查看 nginx 启动错误日志
vim /var/log/nginx/error.log
# 检查 nginx 服务配置
vim /etc/systemd/system/nginx.service
# 重新加载配置并重启 nginx
systemctl daemon-reload
systemctl restart nginx
|
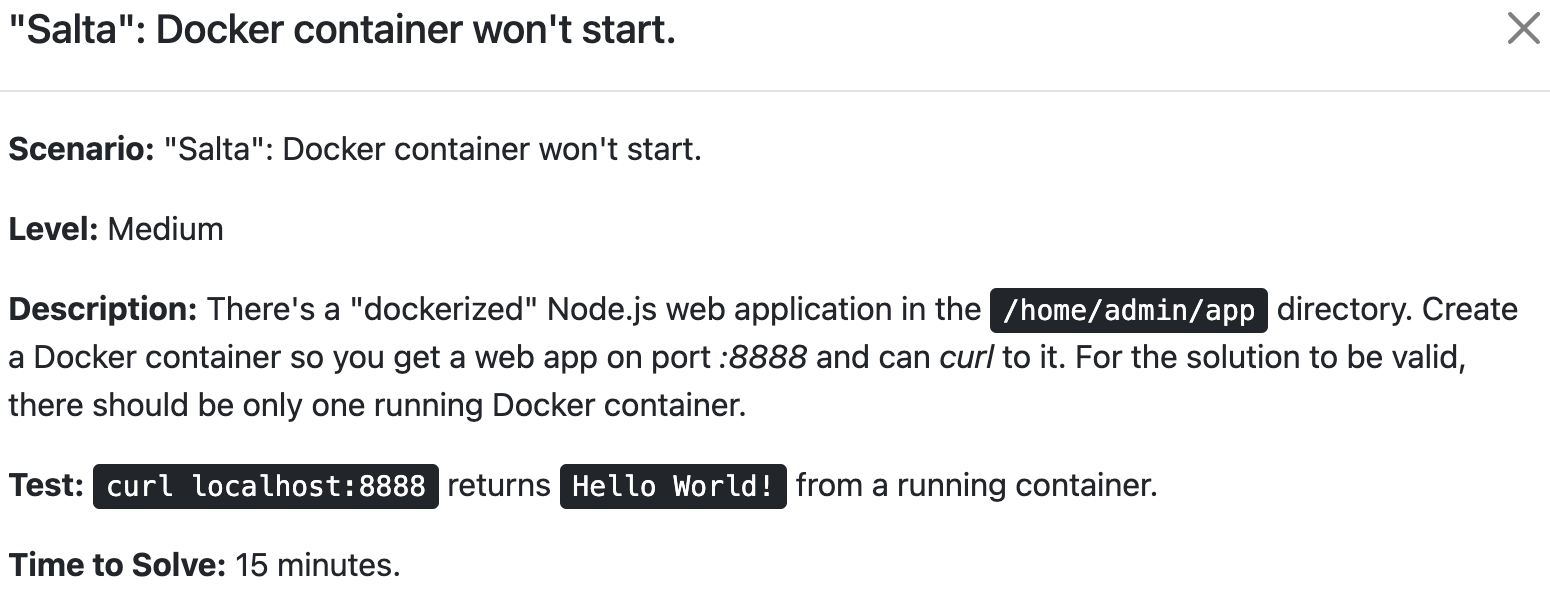
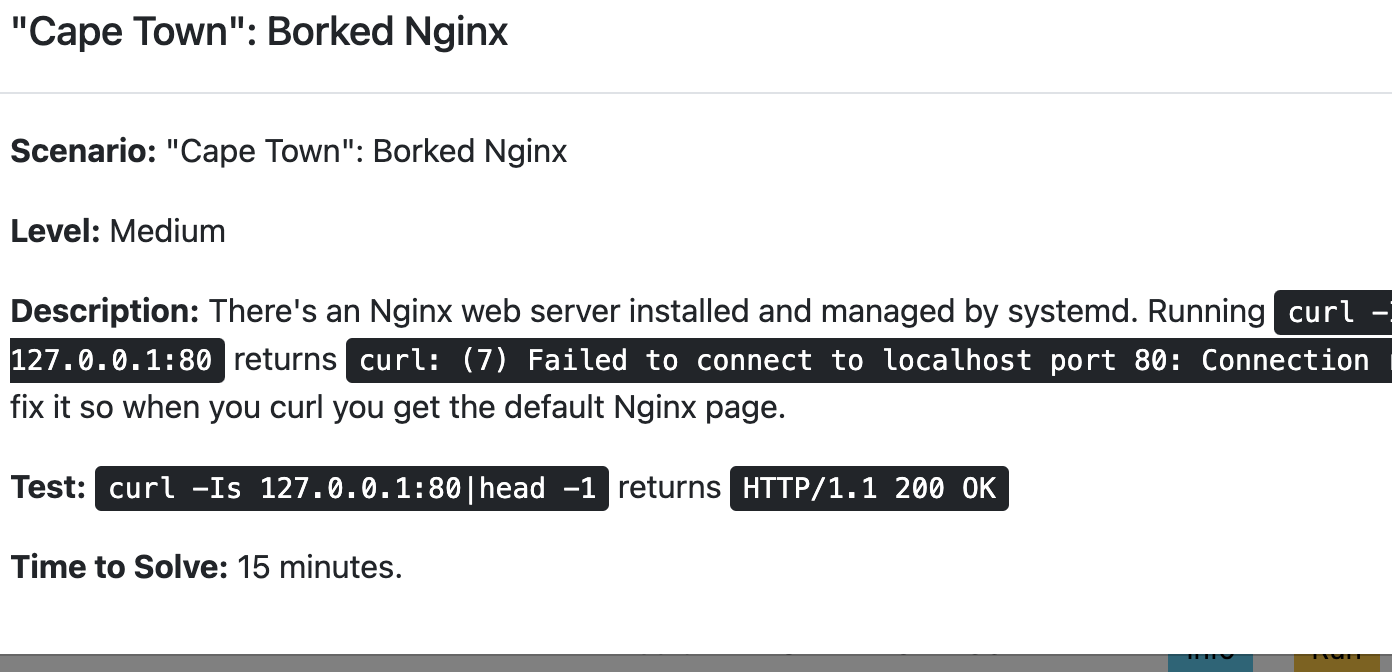
思路
检查端口占用,关闭占用8888 端口的其他服务,并检查 容器app 的启动日志,修复 nodejs 服务启动失败问题
相关指令
1
2
3
4
5
6
7
8
9
10
11
12
13
14
15
16
17
18
| # 检查端口占用
netstat -tunlp | grep 8888
# 启动容器
docker start 124a4fb17a1c
# 查看启动日志
docker logs 124a4fb17a1c
# 检查 Dockerfile 中的 CMD 启动命令
cd /home/admin/app
vim Dockerfile
# 构建镜像
docker build -t app .
# 启动容器 并 开放端口
docker run -d -p 8888:8888 app
|
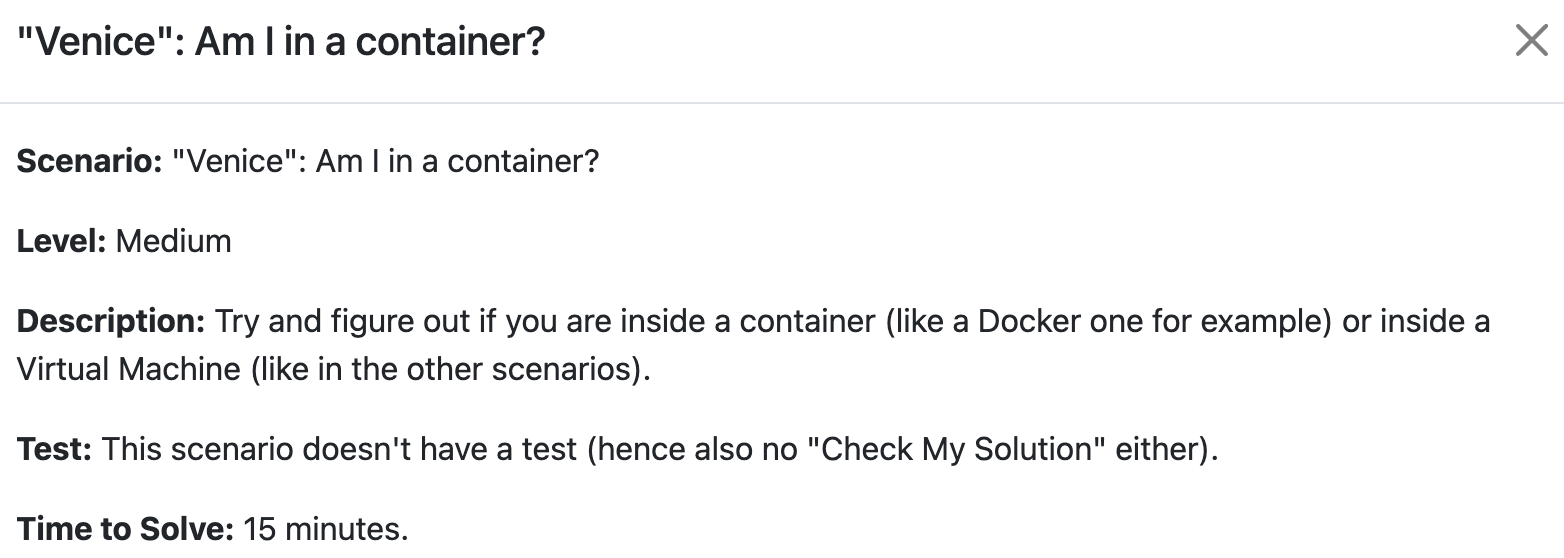
思路
没有需要解决的问题,主要引导大家思考 如何判断连接的服务器是在容器内,还是宿主机
参考-如何判断当前linux是 docker容器 还是 虚拟机/物理机
相关指令
1
2
| # 判断是否是 podman container
cat /proc/1/environ |tr "\0" "\n" | grep container
|
podman 相关介绍: Podman vs Docker: All You Need To Know!
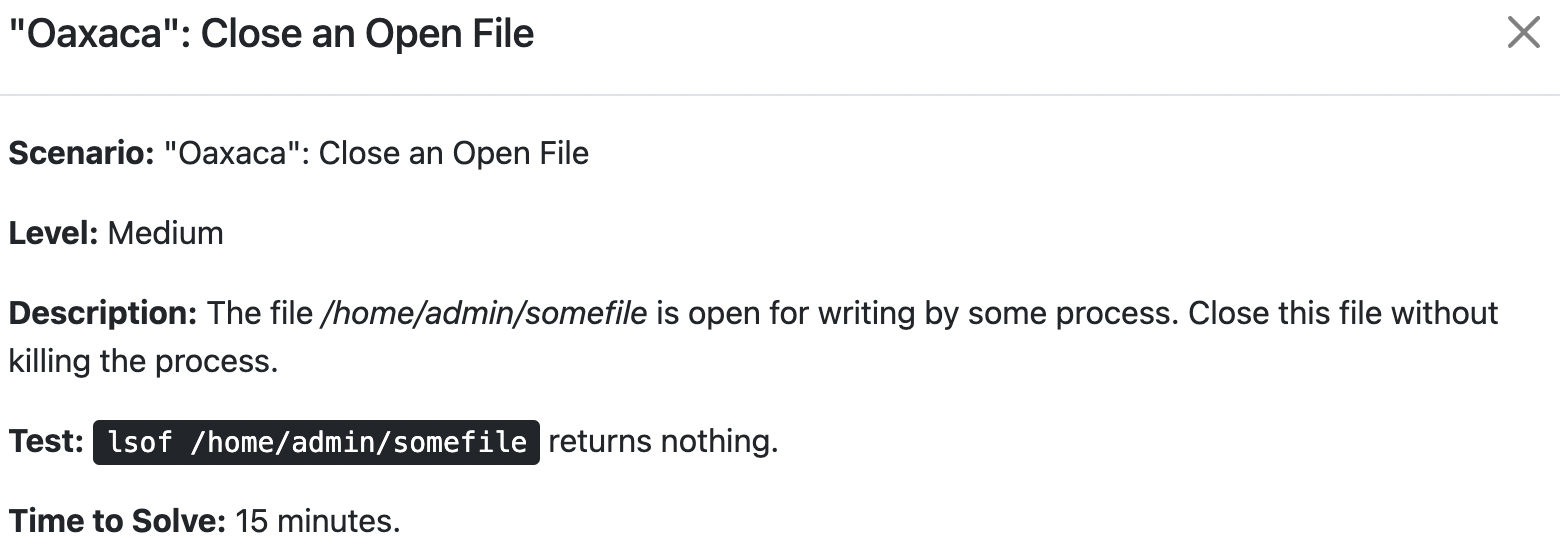
思路
找到占用文件的进程,判断会产生这个进程的原因,彻底关闭并让进程不再启动
相关指令
1
2
3
4
5
| # 找到占用文件的进程 ,并直接 kill 掉
lsof /home/admin/somefile | tail -2 | awk '{print $2}' | xargs kill -9
# 检查 bash
vim /home/admin/.bashrc
|
思路
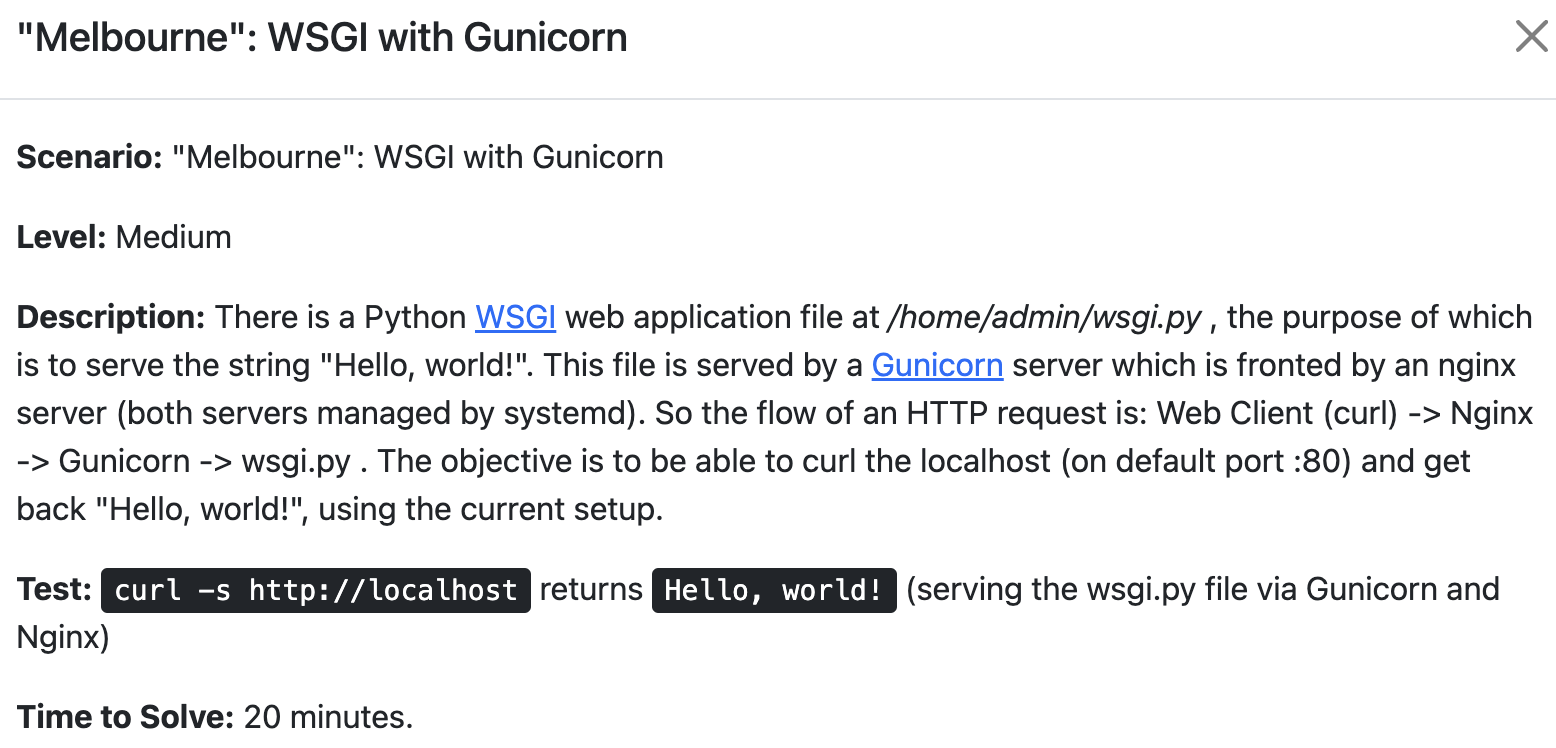
修复 nginx 和 wsgi 服务配置
相关指令
1
2
3
4
5
6
7
8
9
10
11
| # 查看 nginx 配置
vim /etc/nginx/sites-enabled/default
# 查看 gunicorn 配置
vim /etc/systemd/system/gunicorn.service
# 查看 wsgi 服务配置
vim /home/admin/wsgi.py
# 重启 gunicorn
systemctl restart gunicorn
|
WSGI: Web Server Gateway Interface, 为Python语言定义的Web服务器和Web应用程序或框架之间的一种简单而通用的接口
gunicorn: 基于 WSGI 实现的http服务器,类似 httpd
思路
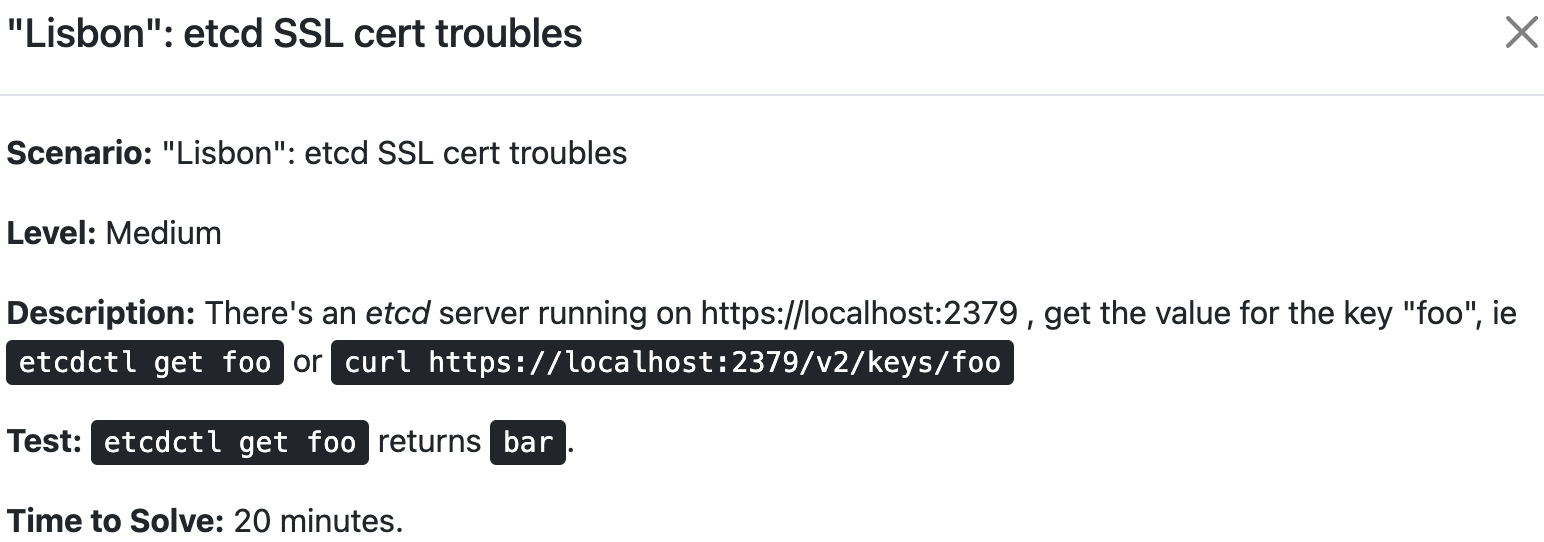
思路:重新生成证书
解决机器时间问题、解决 iptables 规则错误问题
相关指令
1
2
3
4
5
6
7
8
9
10
| # 通过 etcdctl 获取配置
etcdctl get foo
# 设置系统时间为一年前的时间
date -s "last year"
# 调用校验
curl -ik https://localhost:2379/v2/keys/foo
# 获取指令
|
思路
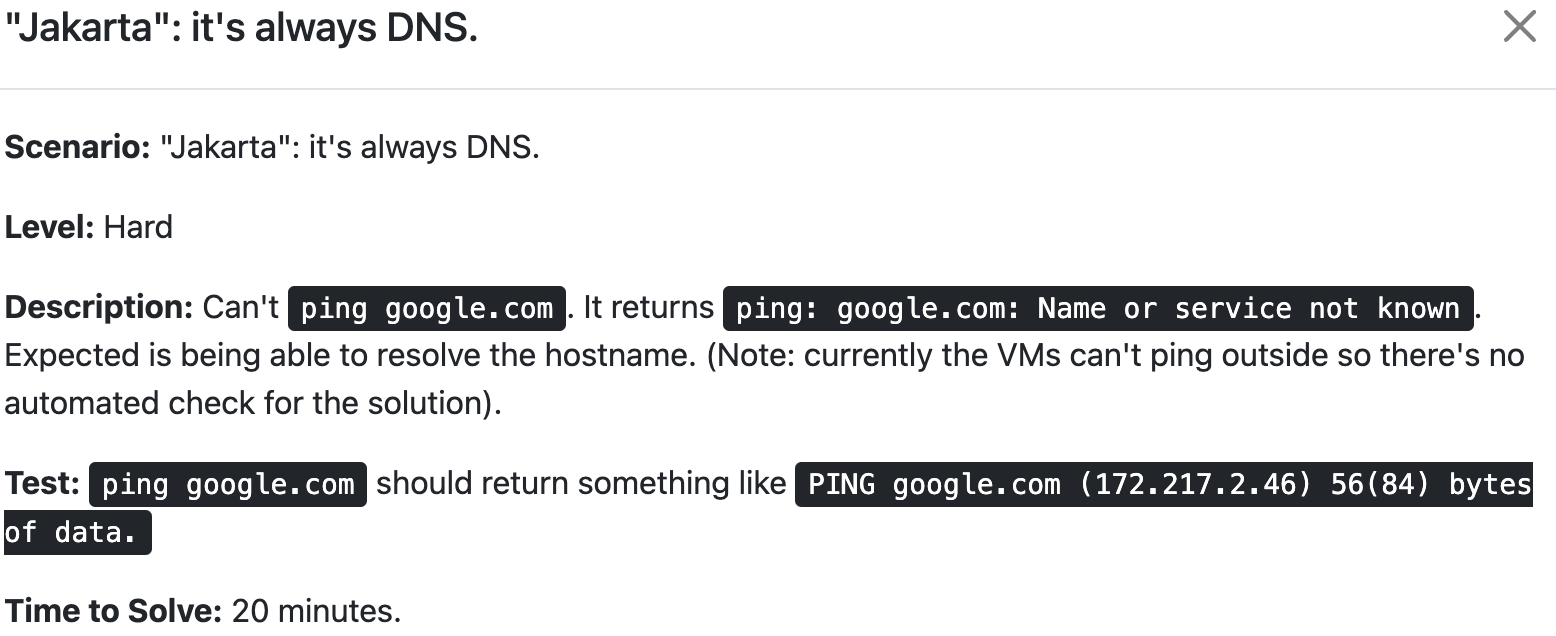
修复域名解析顺序问题
相关指令
1
2
| # 编辑配置解析顺序
vim /etc/nsswitch.conf
|
参考-Linux系统解析域名的先后顺序files(/etc/hosts)OR dns(/etc/resolv.conf)
思路
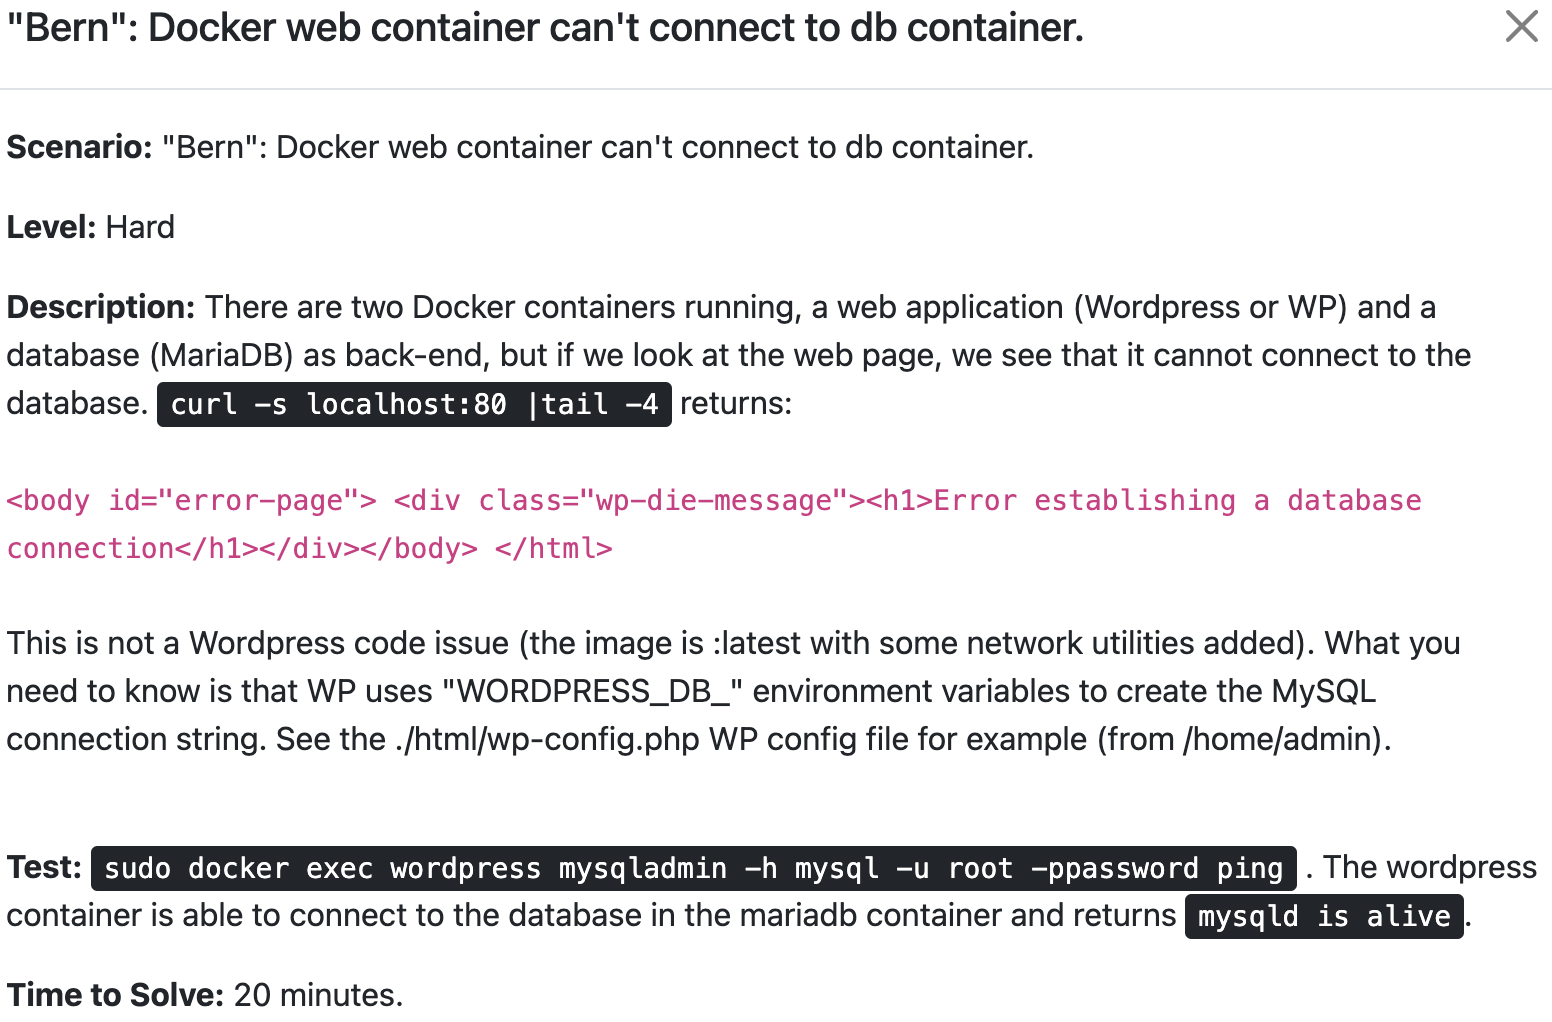
修正 wordpress 连接 mysql 配置
注意:这道题题目自检查有问题,只要不返回错误信息即可
相关指令
1
2
3
4
5
6
7
8
9
10
11
12
13
14
15
16
17
18
19
20
21
| # 检查 wordpress 连接 mysql(没有异常返回则正常)
curl -s localhost:80 | tail -4
# 查看 wordpress 容器和 mysql 相关的配置
docker exec 6ffb084b515c env | grep "WORDPRESS_DB"
# 查看 mysql(mariadb) 容器配置
docker exec 0eef97284c44 env | grep MYSQL
# 检查 mysql 连接
mysql -h127.0.0.1 -P3306 -uroot -ppassword
# 进入 wordpress 容器
docker exec -it 6ffb084b515c /bin/bash
# 修正配置
sed -i "s#define( 'DB_HOST'.*#define( 'DB_HOST', '172.17.0.1');#g" wp-config.php
# 关闭/启动容器
docker kill 6ffb084b515c
docker start 6ffb084b515c
|
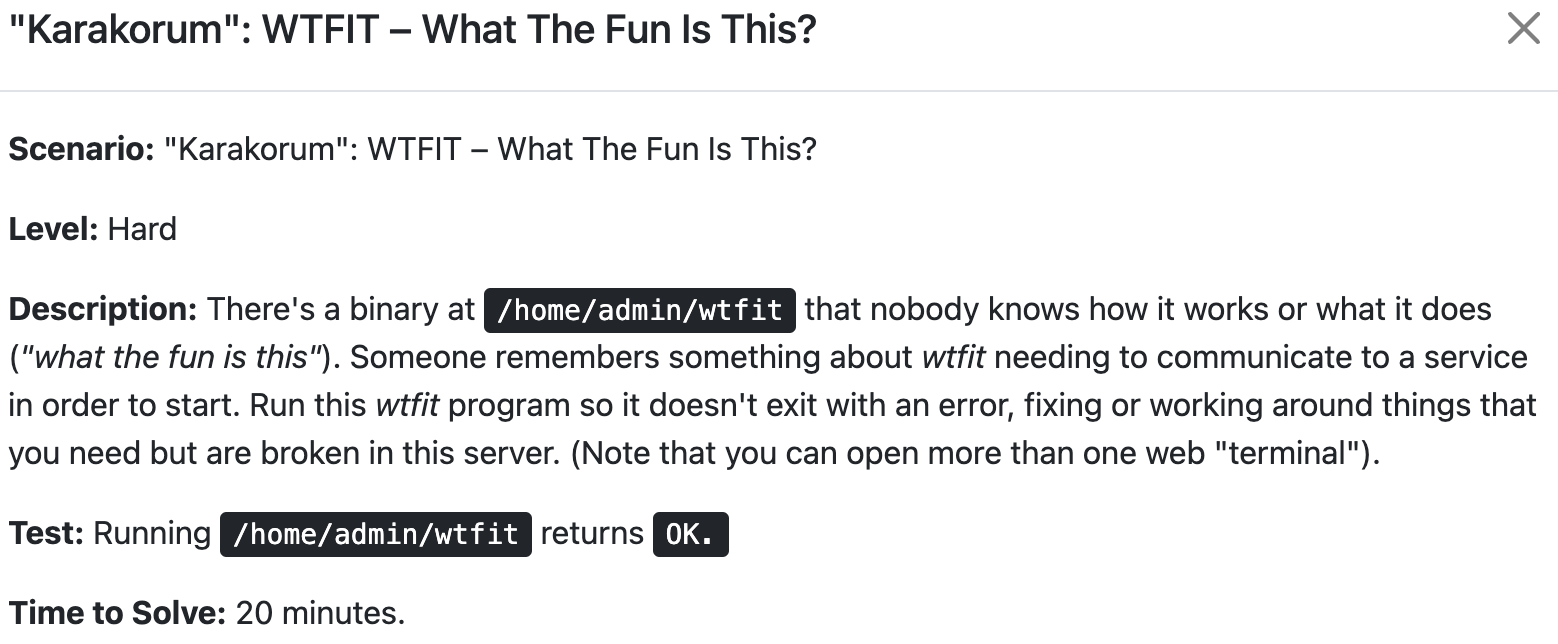
思路
通过 系统调用 执行 linux 指令
相关指令
1
2
3
4
5
| # 通过 perl 脚本调用
perl -e 'chmod 0755, "/usr/bin/chmod"'
# 通过 ld-linux 库调用
/lib64/ld-linux-x86-64.so.2 /usr/bin/chmod +x /usr/bin/chmod
|
参考-ld-linux.so(8) - Linux man page
参考-Perl chmod Function
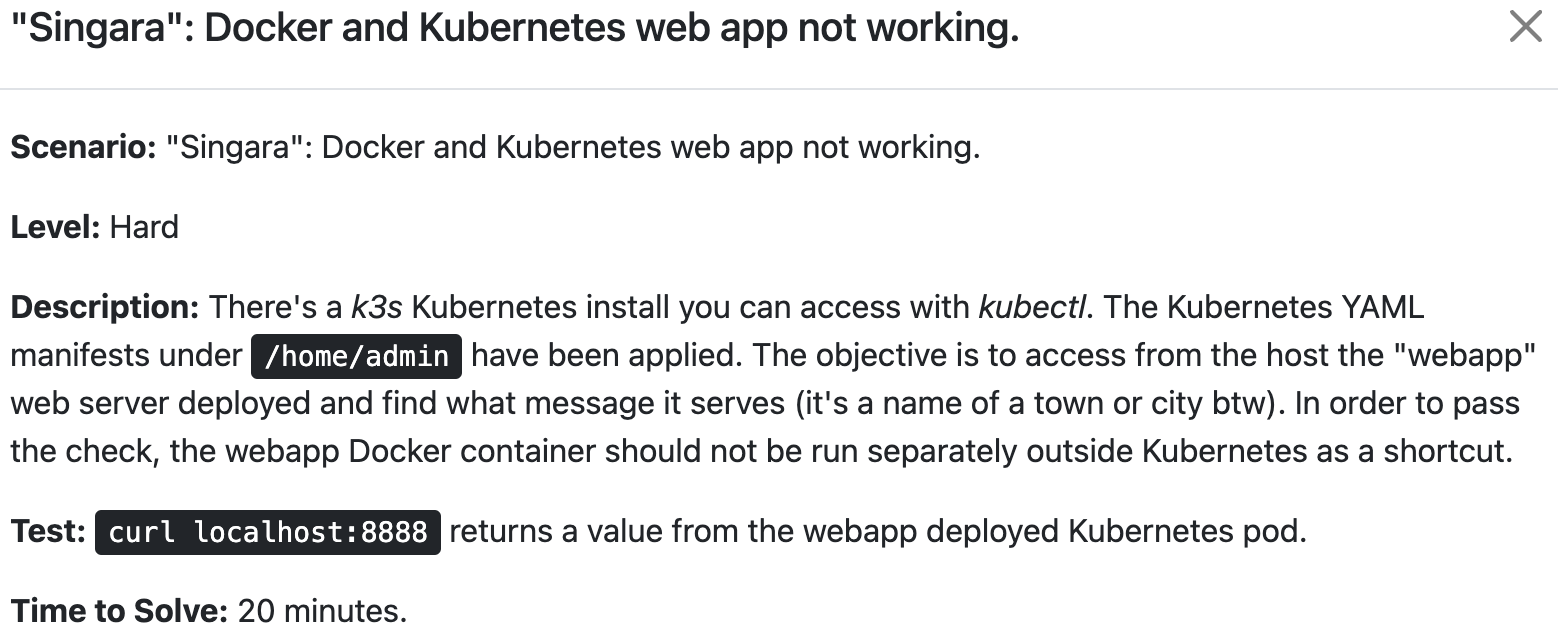
思路
重建、提交镜像,开放端口
相关指令
1
2
3
4
5
6
7
8
9
10
11
12
13
14
15
16
17
18
19
20
| # 获取所有 pod
kubectl get pod -A
# 获取 pod 的描述信息
kubectl describe pod webapp-deployment-666b67994b-5sffz -n web
# 启动 register 镜像仓库
docker run -d -p 5000:5000 registry:2
# 提交镜像
docker tag webapp localhost:5000/webapp
docker push localhost:5000/webapp
# 修改 deployment 并重新启动
kubectl delete deploy webapp-deployment -n web
vim /home/admin/deployment.yml
kubectl apply -f /home/admin/deployment.yml
# 开放端口
kubectl port-forward deployments/webapp-deployment 8888 -n web
|
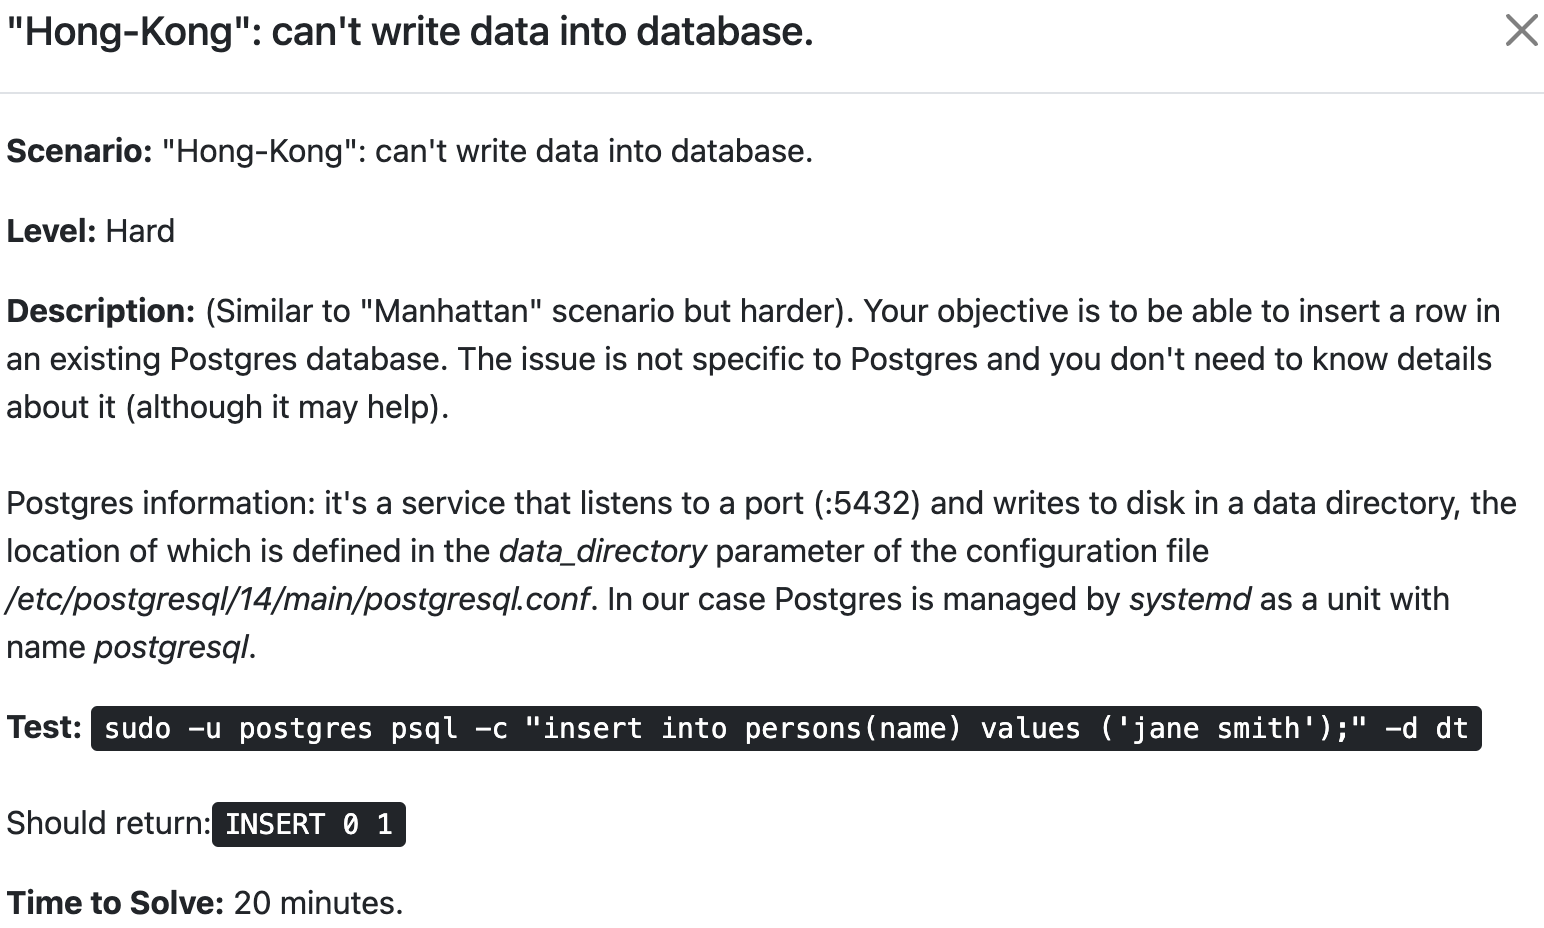
思路
确认 pgsql 启动失败原因,重启后新建库表
相关指令
1
2
3
4
5
6
7
8
9
10
11
12
13
14
| # 检查配置
vim /etc/postgresql/14/main/postgresql.conf
# 创建数据目录并初始化
mkdir -p /opt/pgdata
chown -R postgres:postgres /opt/pgdata
su postgres -c "/usr/lib/postgresql/14/bin/initdb -D /opt/pgdata/main"
# 创建库表
sudo -u postgres psql -c "create database dt"
sudo -u postgres psql -c "CREATE TABLE persons(name varchar(100))" -d dt
# 插入数据
sudo -u postgres psql -c "insert into persons(name) values ('jane smith');" -d dt
|

思路
思路:这道题涉及面很广,包括 ssh 配置、linux 用户配置、用户可用系统资源配置等,有一定挑战性
相关指令
1
2
3
4
5
6
7
8
9
10
11
12
13
14
15
16
17
18
19
20
21
22
23
24
| # 清空 known_hosts 配置
ssh-keygen -f "/home/client/.ssh/known_hosts" -R "localhost"
# 删除 ssh 错误配置并重启服务
rm /etc/ssh/sshd_config.d/sad.conf
systemctl restart ssh
# 修正私钥文件权限
chmod 600 /home/client/.ssh/id_rsa
# 查看用户过期时间
chage -l client
# 修改用户过期时间
chage -E 2023-03-01 client
# 查看文件描述符配置 (需要修改)
vim /etc/security/limits.conf
# 查看用户登录信息 (登录脚本)
lslogins client
# 设置用户登录 shell 为 /bin/bash
usermod --shell /bin/bash client
|
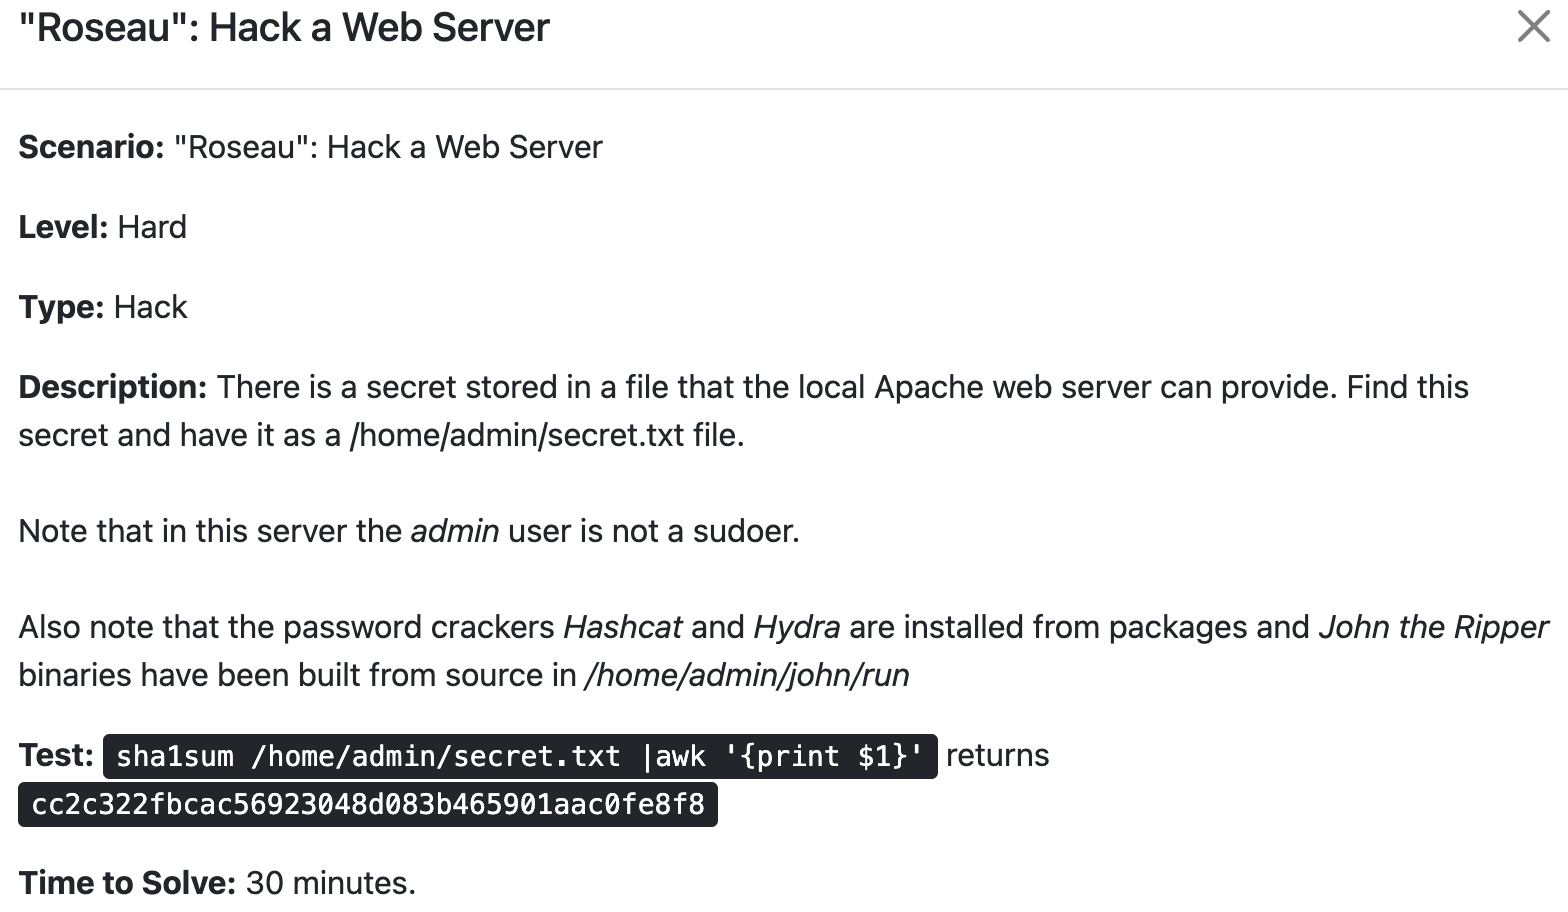
思路
本题主要是介绍暴力破解工具 john 的使用。实测稍微复杂点的密码就需要很长时间才能破解了,因此稍做了解就好
参考-使用John the ripper破解密码
相关指令
1
2
3
4
5
6
7
8
9
10
11
12
| # 查看 httpd 配置
cat /etc/apache2/sites-enabled/000-default.conf
# 破解 httpd 密码
cd ~ ; john/run/john /etc/apache2/.htpasswd
# 下载 webfile 文件
curl localhost/webfile -u "carlos:替换成账号密码" --output secret
# 解密 secret (zip 压缩包) 密码
john/run/zip2john secret > zip.hash
john/run/john zip.hash
|
todo
其他注意事项
作者温馨提醒: 做完一道题之后最好及时关闭服务器,可以帮他省钱